Join me as I take you on a joyful voyage into the magical world of buttons, a crucial crafting component that adds joy, colour, and a dash of whimsy to your artistic endeavours. Whether you're an experienced craftsman or are just getting started, buttons offer countless ways to give your creations character and charm. So gather your creative tools and let's enter the world of buttons, where the possibilities are endless!
We're going to go on a touching adventure today as we discover how to sew buttons onto our cherished teddy bears. Not only do sewing buttons provide our fuzzy friends with a little sparkle and personality, but it also enables us to show our love and creativity for them. So, take your sewing supplies and let's start learning the craft of buttoning our beloved teddy bears!
Let's check that we have everything we need for this beautiful craft before we start stitching:
- Pick a stuffed animal that has special meaning to you or one that you'd like to customise with buttons. Make sure your bear is clean and ready for some artistic additions.
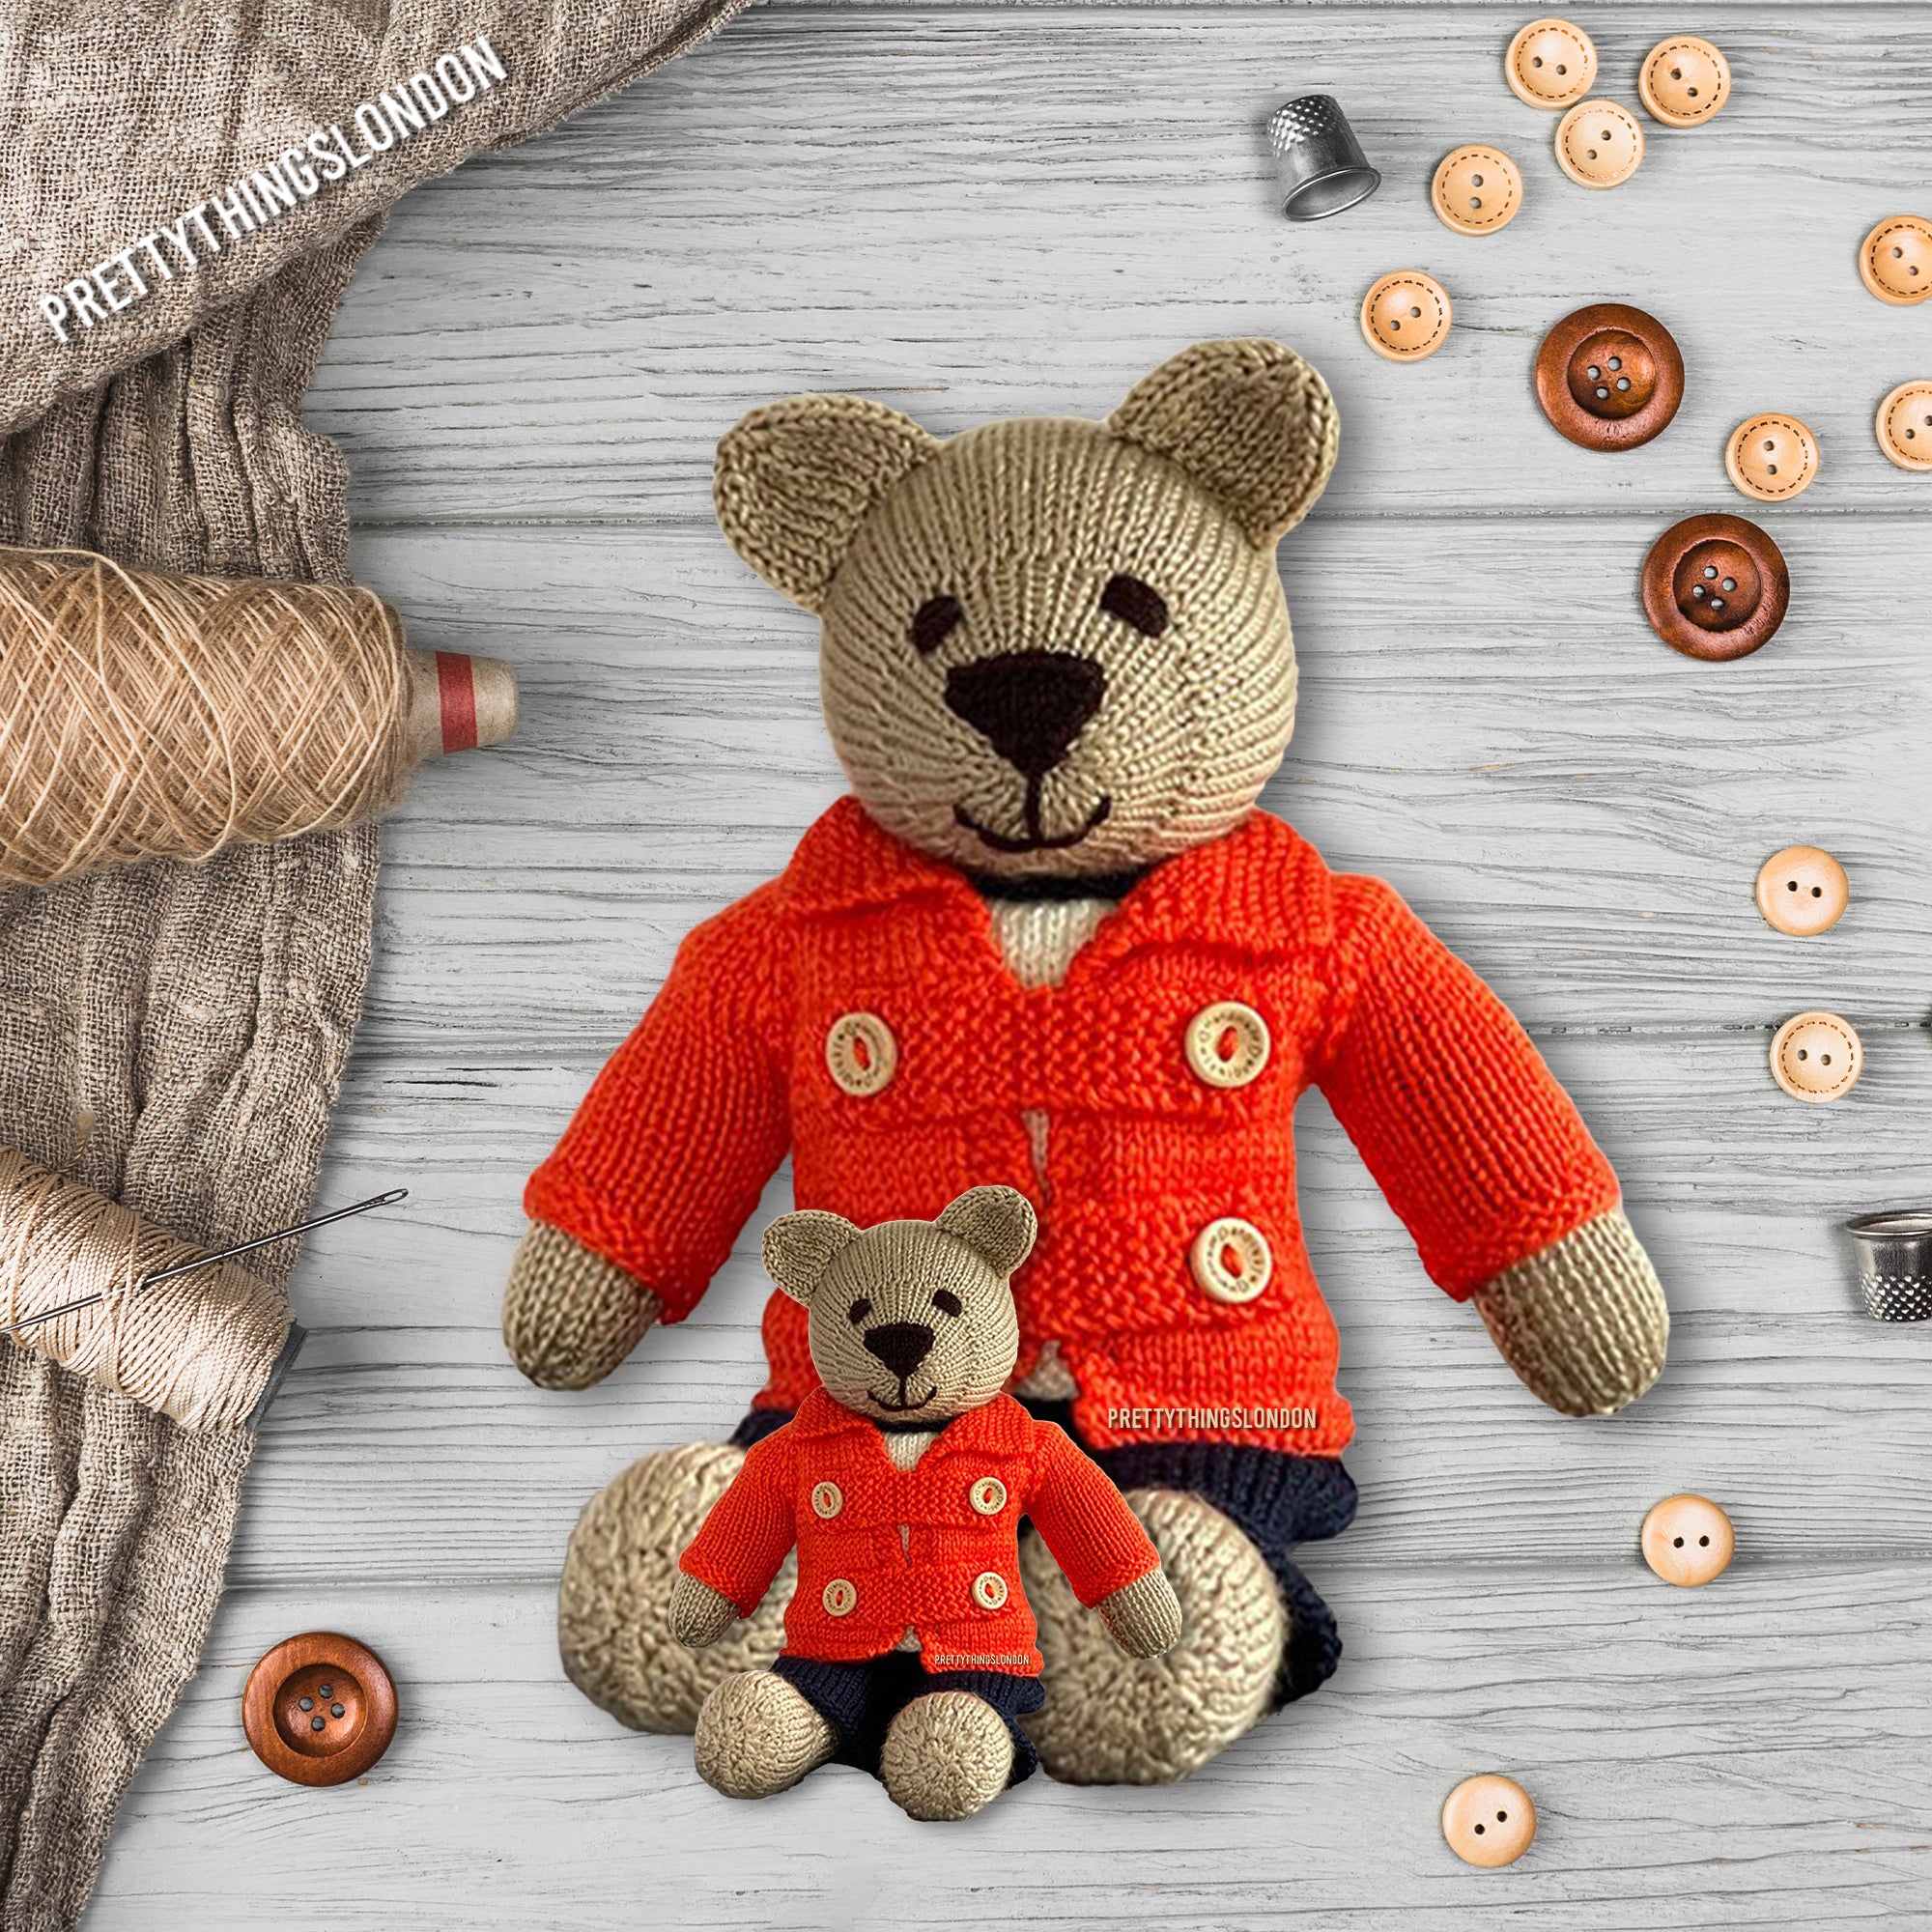
- Choose buttons that are appropriate for your bear's size, personality, and fashion sense. For this craft, two-hole buttons are perfect. To give your teddy bear personality, think about varying shapes, hues, and sizes.
- Prepare your sewing kit, which should contain your go-to tools for sewing, such as needles, thread, scissors, and a thimble (if desired). Choose a thread that goes well with the buttons and teddy bear fabric you've chosen.
Let’s now go stitching!
Step 1. Get the thread ready. For increased strength, leave a second strand of thread when threading your needle. Make a tight knot at the end of the thread to prevent it from slipping through the fabric while you sew.
Step 2. Secure the First Button. Place the first button on the fabric of your teddy bear in the chosen location. Put the needle through one of the button's holes from the back of the fabric. Reentering the fabric, thread the needle through the second hole.
Step 3. To make sure the button is firmly fastened, sew through the button's holes repeatedly. Make a few tiny stitches on the fabric's reverse to strengthen the hold of the button for greater longevity.
Step 4. Press the next button while continuing to stitch in the same manner. Take your time, making sure the stitches are secure and uniform. For each button, you want to attach to your teddy bear, repeat this procedure.
Step 5. After all the buttons are firmly fastened, trim the thread and tie a knot on the fabric's reverse side. To maintain a clean appearance, carefully trim any extra thread.
Keep in mind that the whole point of crafting is to express yourself and have fun. So, while you experiment with various button sizes, colours, and positions, let your creativity lead the way. Stitch your teddy bear with care, and you'll see how it turns into a priceless keepsake that will provide you delight for years to come.
Happy sewing, and may your teddy bears proudly and joyfully wear their buttons!
