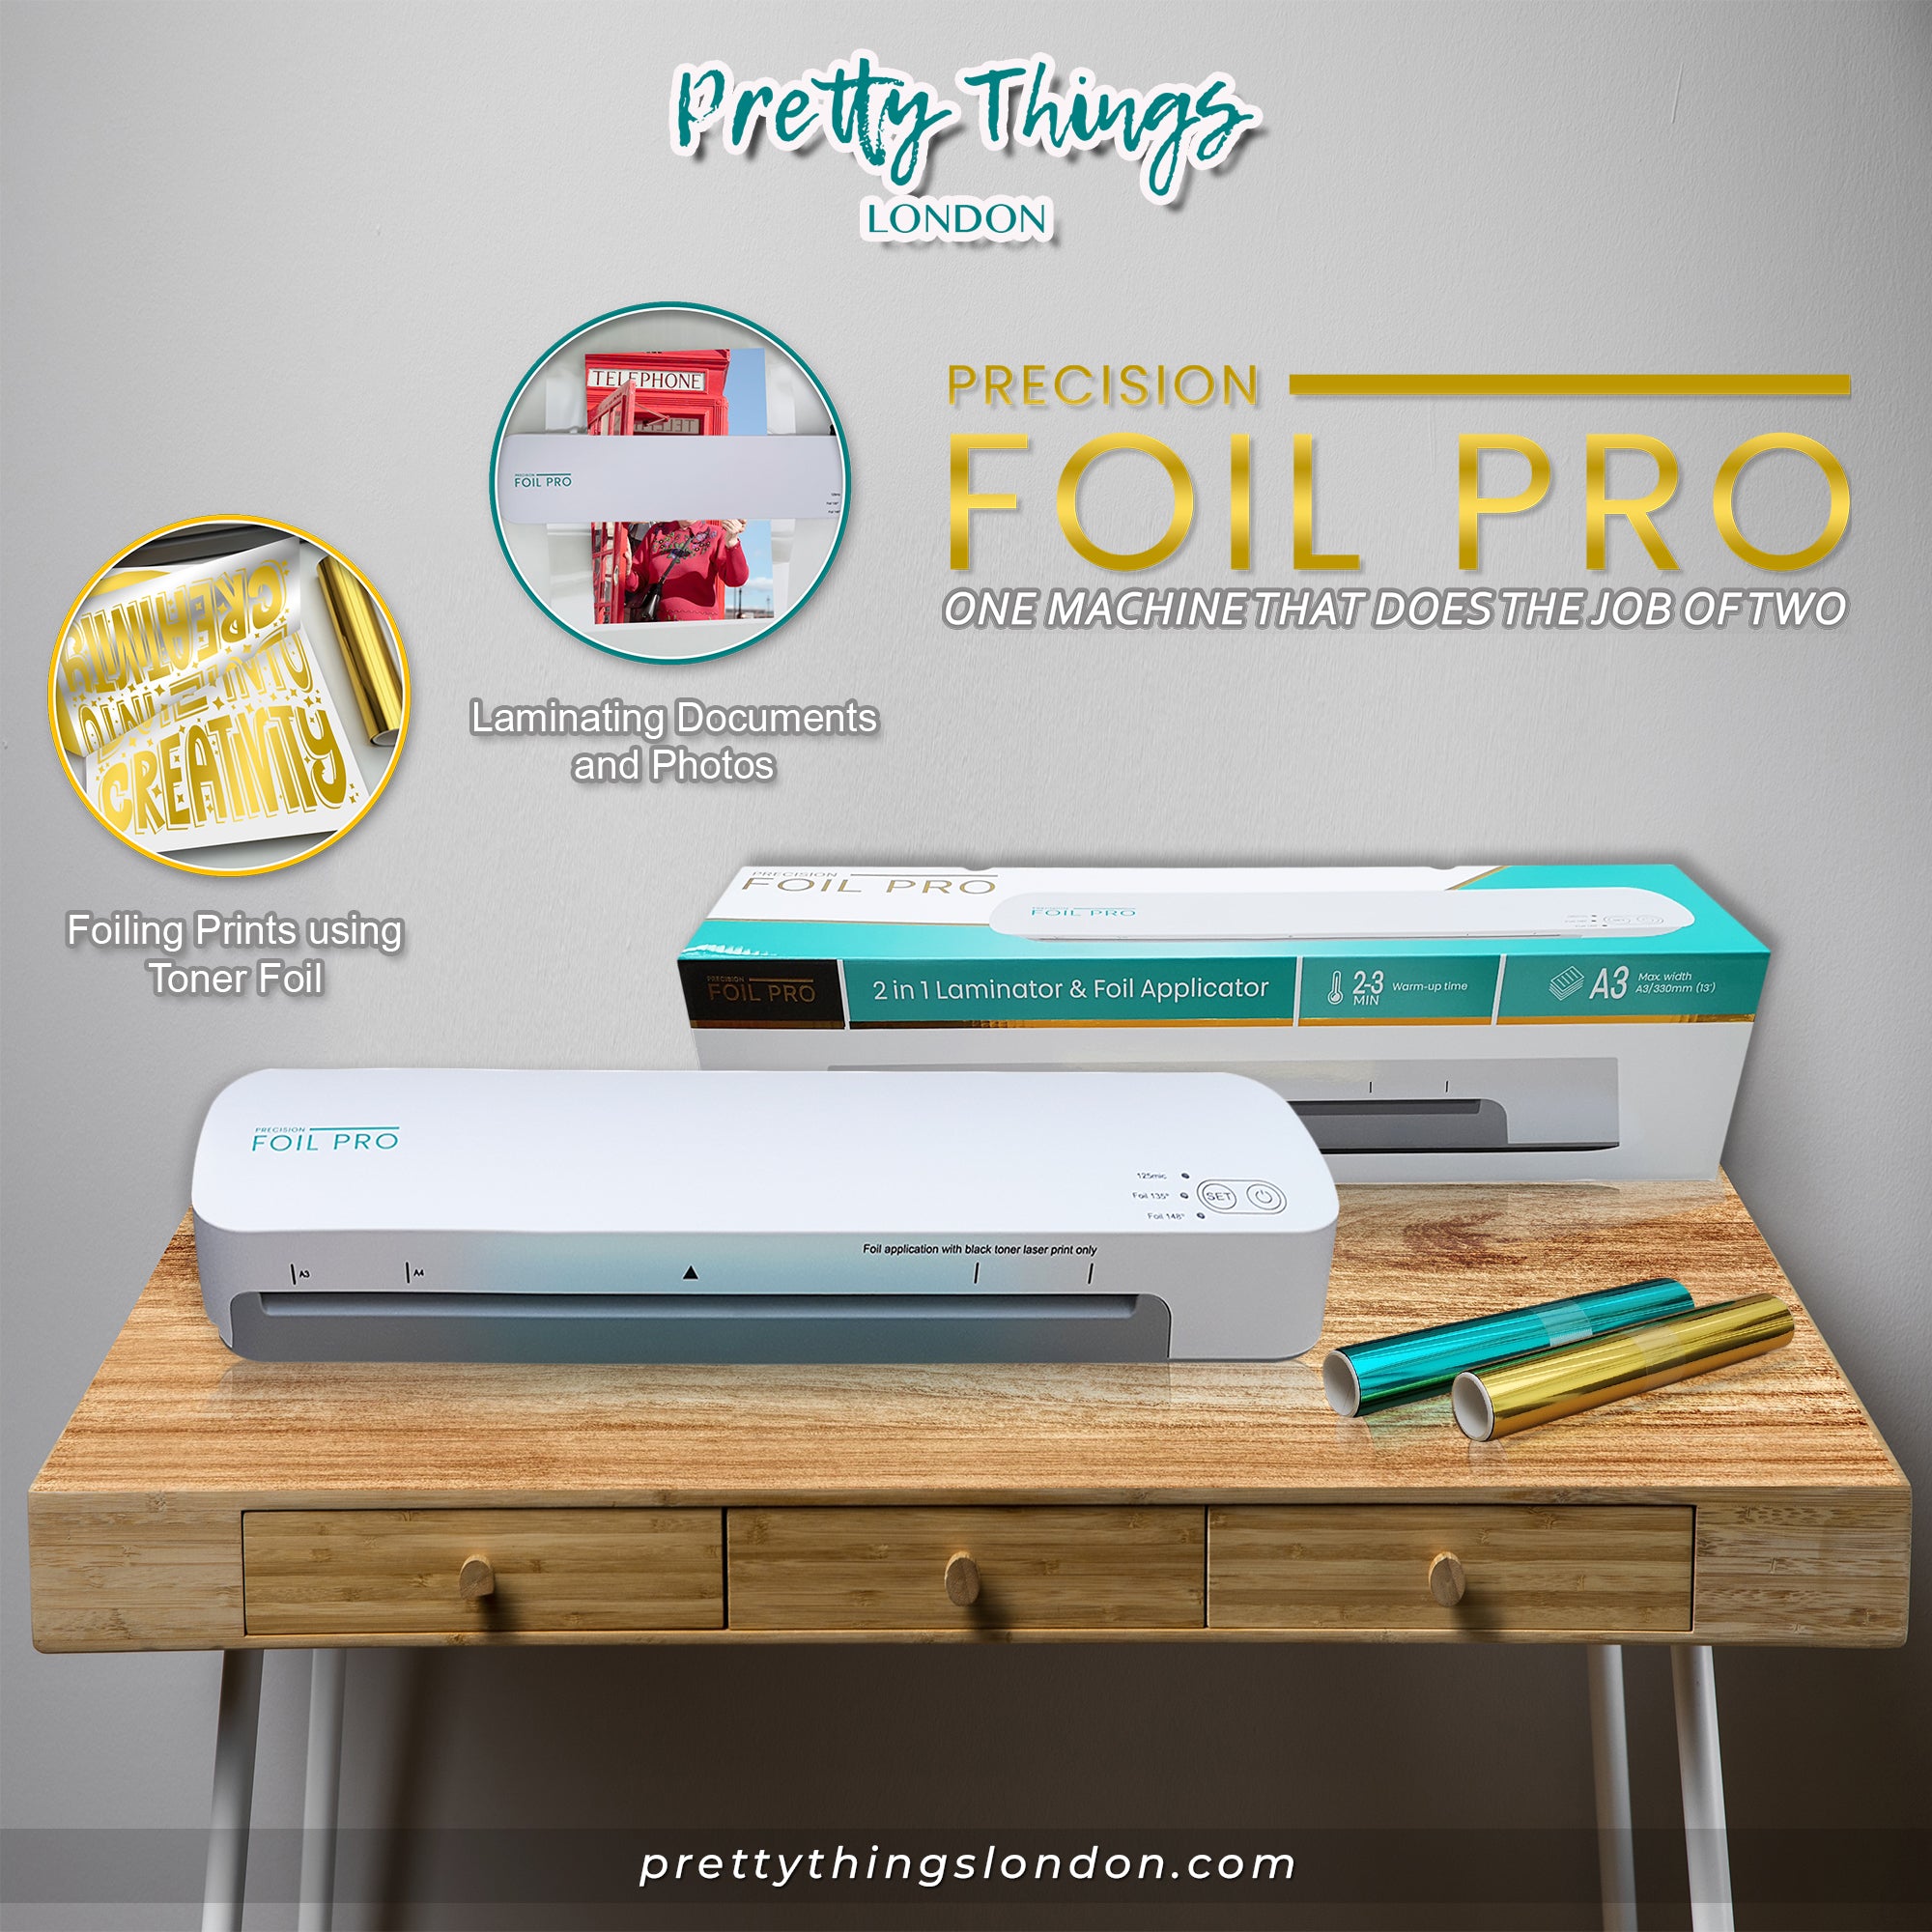
Step 1: Prepare Your Surface. Print your chosen design using toner ink on to paper or cardstock that is compatible with foiling.
Step 2: Choose Your Foil. Choose the desired color and finish for your project.
Step 3: Cut the Foil If you are using foil sheets or rolls, cut them into the desired size and shape for your project.
Step 4: Prepare the Precision Foil Pro Plug in your Precision Foil Pro and allow it to heat up. Typically, it takes a few minutes for the tool to heat up to the proper temperature for foiling.
Step 5: Apply Foil to Surface Place the foil on top of your design, with the colored or shiny side facing up. Step 6: Peel Off Top Layer Once you have ran your design through the Precision Foil Pro, carefully peel off the top film layer leaving behind the foiled design on your surface.
And that's it! With the Precision Foil Pro, you can easily and quickly add beautiful metallic or holographic effects to your paper crafts, cardmaking, scrapbooking, and other creative projects.
How To Use Precision Foil Pro by Pretty Things London


