To my fellow D; 41IY-ers and crafters, welcome to another blog! Today, we're delving into the fascinating world of toner foil, an intriguing and adaptable material that gives your artistic endeavours a dash of class and glimmer. Pretty Things London’s Toner foil offers countless options for producing eye-catching designs, regardless of whether you are an experienced maker or a curious beginner. So let's go out on a creative and brilliant voyage as you grab your laminator and toner printer!
What is Toner foil really? Toner foil is a specialised substance that bonds to the printed paper when heated. The stunning metallic or holographic appearance it produces instantly elevates regular designs to the spectacular. Toner foil is available in a variety of colours, from traditional gold and silver to colourful hues, allowing you to add a unique touch and make your work stand out!
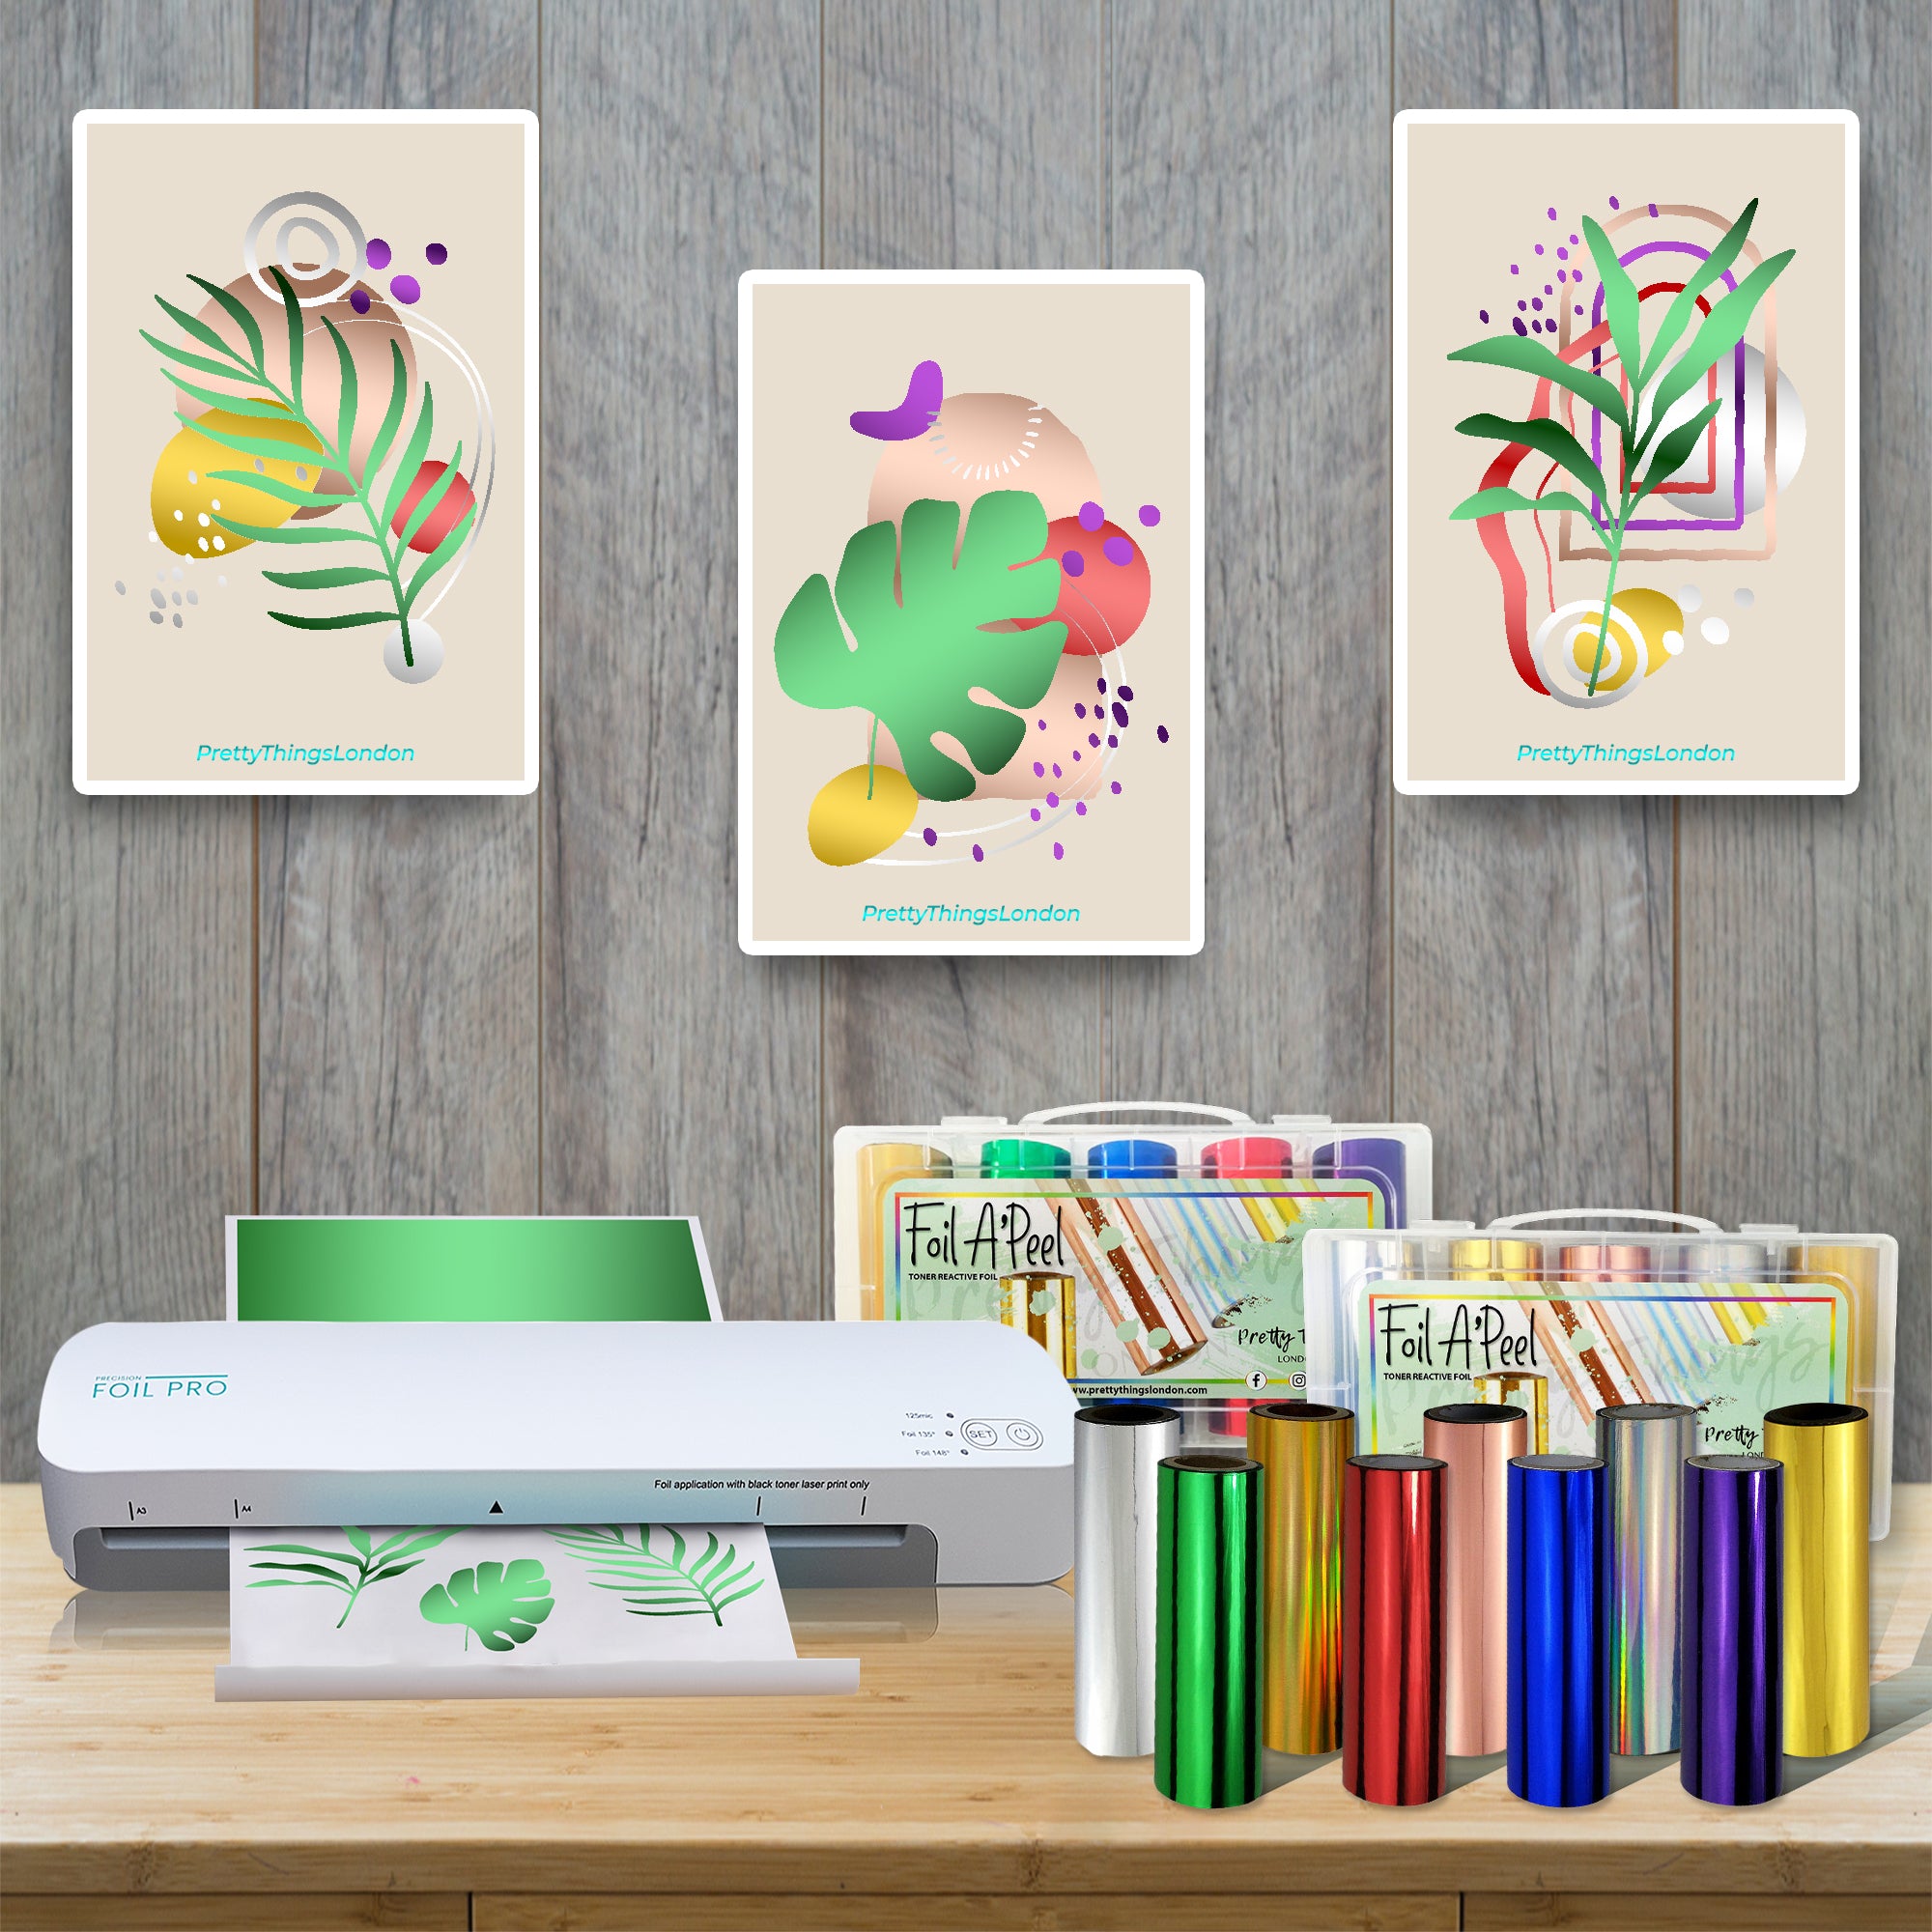
You will require the following materials before starting your toner foil adventure:
Toner Printer: Ensure you have access to a laser printer or photocopier that uses toner-based ink. It's essential for achieving the desired results with toner foil.
- Toner Printer
- Pretty Things LondonToner Foil (colour of your choice)
- Laminator
- Quality Paper or Cardstock
Now, Let's Get Creative!
- Come up with your own design or pick one that speaks to your creative side. Use graphic design software or look online for printable patterns. Make sure your design is printed using a laser printer or photocopier because toner foil can only attach to surfaces where there is toner ink.
- Cut your printed design to the required size, if necessary leaving a thin border. This will guarantee that the foil sticks to the desired regions and stop any negative consequences.
- Preheat your Foil Precision Pro Laminator. For the greatest results, you'll want it to attain a temperature of 250–300°F (120–150°C).
- Cut a piece of toner foil that is a little bit bigger than your design. Make sure the foil's colourful side is facing up and place it over the printed regions.
- Cut a piece of toner foil just a little larger than your design. Place the foil over the printed areas, ensuring the colourful side faces the colourful side is facing up.
- Carefully peel off the toner foil to reveal the spectacular transformation once your artwork has gone through the laminator. Watch as the metallic or holographic effect develops, bringing new brilliance to your design.
- Try out various colour combinations to produce one-of-a-kind, attention-grabbing effects. To give depth and dimension to your design, layer the foil.
Numerous items, including cards, scrapbooking layouts, home décor, and more, can be finished with toner foil. Allow your imagination to soar and investigate the limitless possibilities! Take advantage of toner foil's brilliance, unleash your creativity, and watch as your work comes to life with a glittering radiance that shines out!
Cheers to foiling and crafting!
