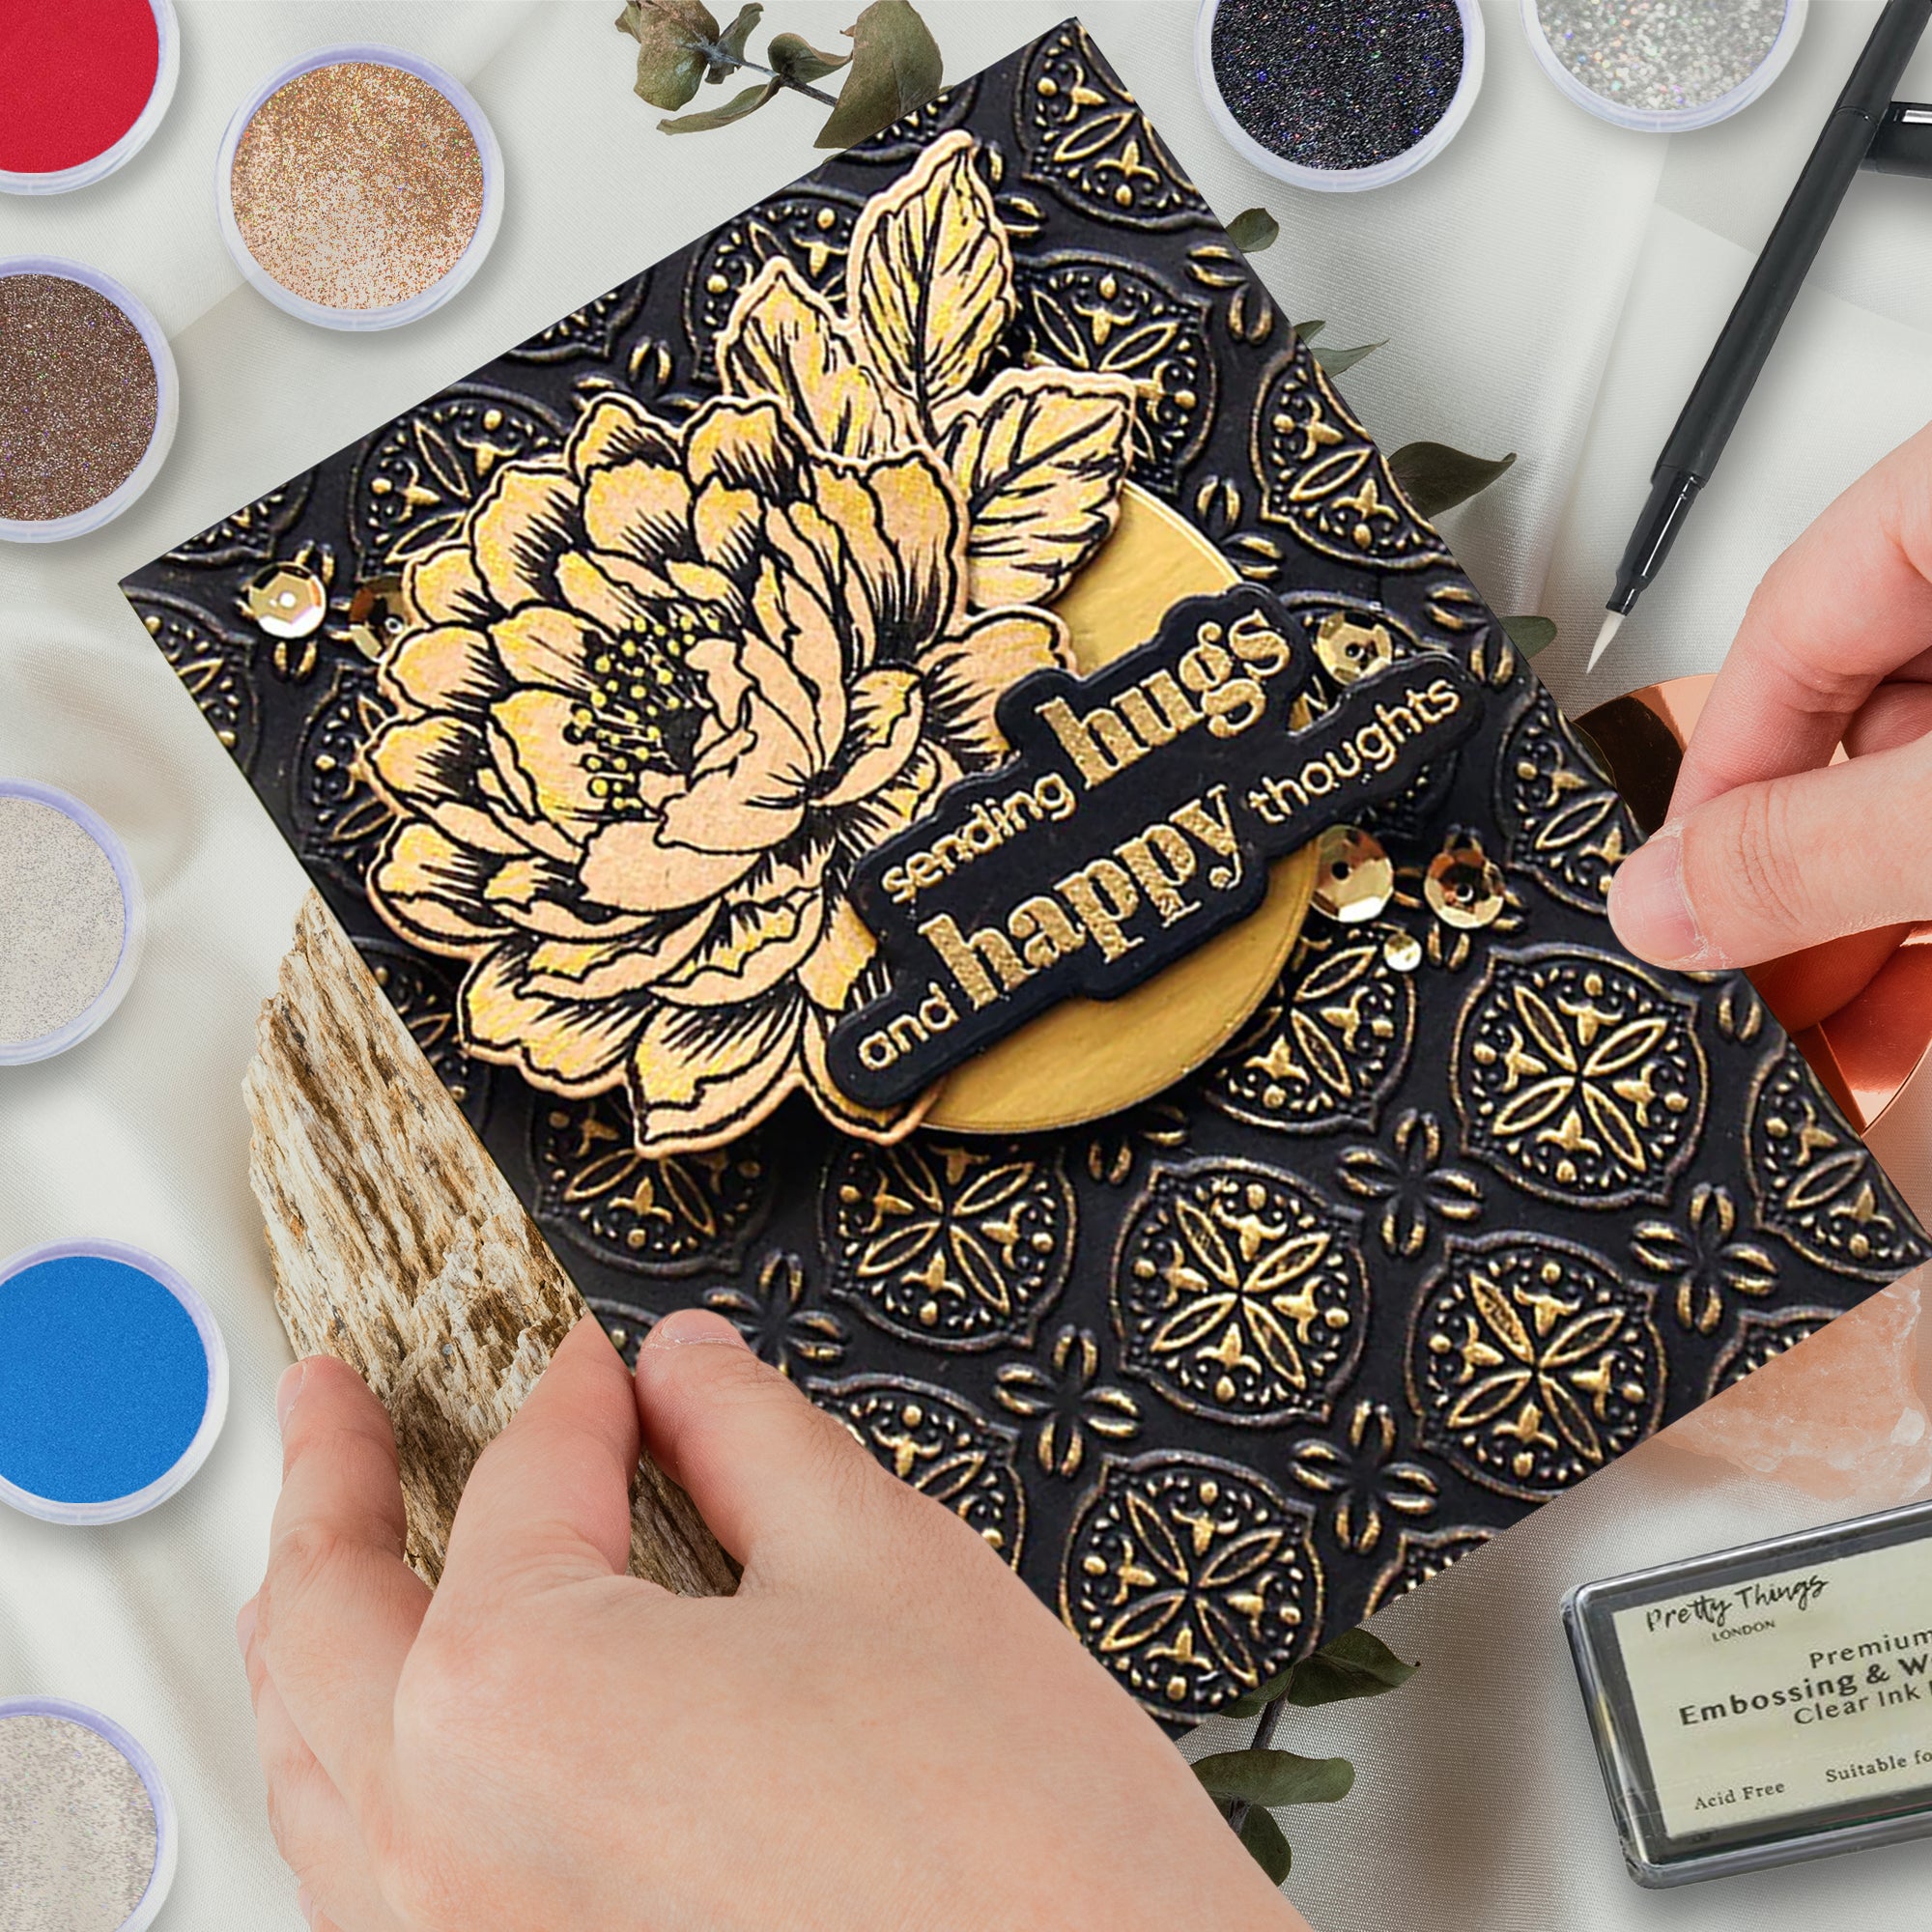
Today's blog is going to get to the basics. This is excellent for people who are just learning how to heat emboss, need a little refresher, or want to truly polish their skills. The embossed powder is a fascinating world, so are you ready to explore it? Get ready to infuse your craft projects with a little magic and adventure! Give your creations some depth, glitz, and magic!
In order to heat emboss, you will need these things:
- Pretty Things London embossing pad. You will need a special ink that can stay wet longer so that the embossing powder can adhere to it.
- Pretty Things London embossing powder (there are many lovely colours to pick from!). Alternatively, you can get our starting kit, which includes 8 x 10ml embossing glitter powder pots, 1 clear embossing ink pad, and 1 clear embossing dual-tip pen.
- Heat embossing tool. This tool is used to melt the embossing powder.
- Symbols or stamps: Choose stamps made of rubber or clear that have detailed, crisp designs. They are effective in transferring ink to your paper.
- Cardstock or paper Select heavyweight cardstock or paper that won't warp in the heat. By decreasing static electricity,
- The anti-static tool makes sure that the embossing powder only sticks to the designated areas.
- For removing extra powder, keep a small brush or a folded piece of paper on hand.
- First, set up your work area. Clear a clean, level surface and cover it with scrap paper, a craft mat, or baking paper (embossing powder won't attach to it, I guarantee!) to catch any wayward powder.
- Next, pick a design. Use a single stamp or a hand-drawn pattern to start out simple. Get used to practising on scratch paper before starting the final project.
- You need to eliminate static and to do this, use a dryer sheet or an anti-static tool to wipe your paper gently. This prevents the embossing powder from sticking to unfavourable surfaces.
- Make sure to evenly cover the entire design as you press your stamp into the Pretty Things London embossing ink pad. Alternatively, you can draw intricate or freehand patterns using a Pretty Things London embossing pen.
- After you've inked your design, it's time to add Pretty Things London embossing powder. To prevent the ink from drying, move quickly. Make sure the embossing powder covers the entire surface of the inked design before sprinkling it.
- Gently tap any extra powder onto a craft sheet or a piece of scrap paper to remove it. To get rid of any stubborn loose powder, you can also try flicking the back of the paper.
- Get ready to be mesmerised as you transform the powder into a brilliant work of art. Turn on your heat embossing tool and hold it a few inches above the powdered design. To evenly melt the embossing powder, move the heat tool in sweeping motions. As it changes into a raised, glossy texture with an alluring shine, marvel as it happens.
- Watch in awe as the melted powder cools as transforms into a beautiful, three-dimensional work of art.
- Give your masterpiece the proper finishing touch. After cooling, use a small brush or folded paper to gently brush away any remaining embossing powder. Enjoy the satisfaction of revealing your design's minute details. When you're ready for your next magical crafting adventure, put any extra powder that got on the craft sheet or scrap of paper back into its container.
And Voila! You have now started your journey through the world of embossing powder, it should be enjoyable and fascinating. You've learned how to use embossing powder to turn your projects into captivating works of art by following these detailed instructions. Now is the time to embrace the joy of embossing powder, let your creativity soar, and experiment with various colours and techniques.


