Hello, DIY enthusiasts! Welcome to our exciting DIY project spotlight. Today, I'm thrilled to share a fantastic and creative way to transform your home decor using toner foil. Whether you're a seasoned crafter or just starting your DIY journey, this project is easy, stylish, and perfect for adding a bit of sparkle to any room in your home.

Section 1: Gather Your Supplies
To get started, you'll need a few essential supplies:
- Toner foil: Pick your favourite colour to match your décor – I used the teal colour that comes with the Foil Pro.
- Laser printer: Necessary for printing your design.
- Laminator: I highly recommend the Foil Pro for the best results.
- Very smooth cardstock or paper: I used a sheet of Papermania Madame Payraud’s, cut to size.
- Scissors: For cutting your paper and foil.
- Design template: You can find many free templates online, or unleash your creativity and design your own.
- Frame (optional): For displaying your finished piece. I just happened to have one lying around…

Section 2: Choose Your Design
Let’s get started with the fun part—choosing your design!
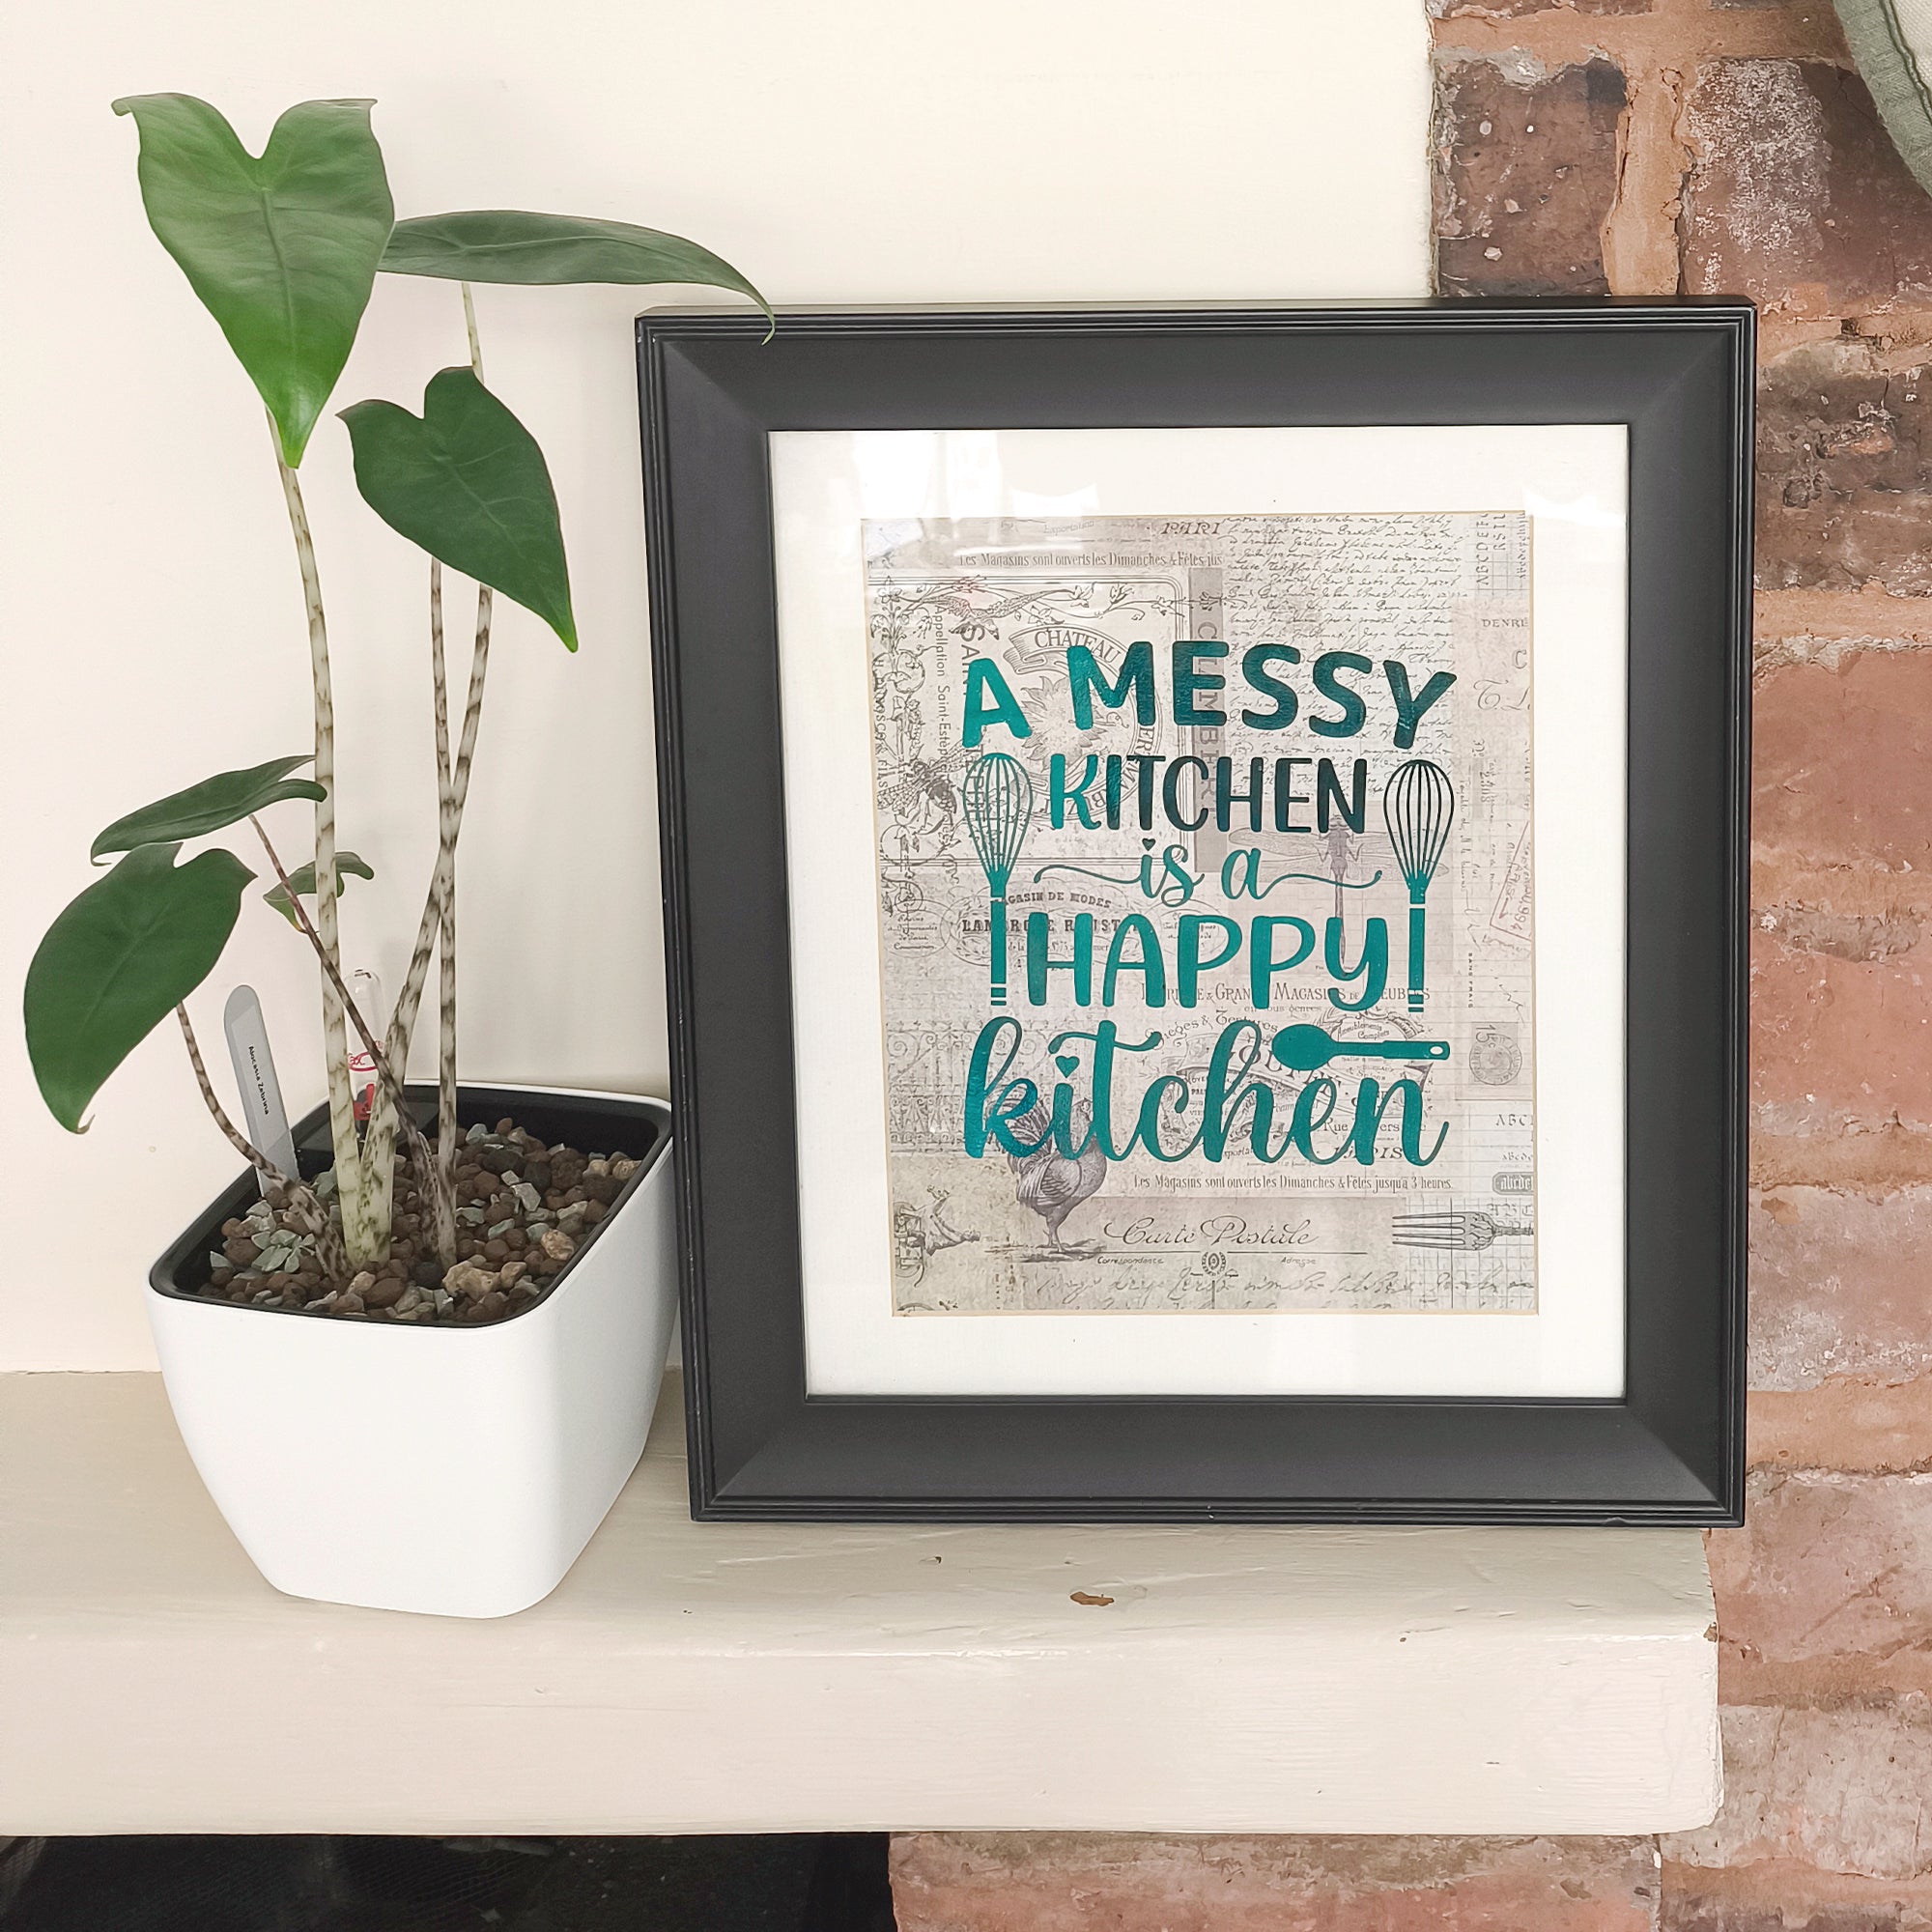
- Select a Design Template: This could be anything from intricate patterns to inspirational quotes. If you're feeling particularly creative, design your own using graphic design software or even a simple word processor. I chose a kitchen quote because who doesn’t love a good kitchen quote?
- Cut the Paper to Size: If your paper is too large for the printer, cut it down to fit. My Papermania paper was 12 x 12”, so I had to trim it to fit through my printer.
- Print Your Design: Print your chosen design onto the cardstock using a laser printer. Remember to use the highest quality print setting for the best results—it really makes a difference!


Section 3: Prepare and Apply the Toner Foil
Now, let's bring your design to life with some beautiful foil!
- Apply the Toner Foil: Cut a piece of toner foil slightly larger than your printed design. Place the foil colour side up over the printed area. Make sure to cover all the toner ink to avoid unwanted ink transferring to transfer folder.
- Apply Heat: Place your print and foil in a transfer folder and feed it through a high-heat laminator. I use the Foil Pro, setting 135. If you’re using a different laminator, allow for a loooong heat up time.


Section 4: Reveal and Display Your Creation
The moment of truth—revealing your gorgeous foiled design!
- Reveal the Foil Design: Let the foil and paper cool for a moment. Then, carefully peel back the foil sheet to reveal your stunning design. If any areas didn’t adhere properly, simply place the foil back down and reapply heat.
- Trim and Frame (Optional): Once your design is complete, trim the edges to fit a frame or to the desired size. If you’re creating wall art, place it in a stylish frame and hang it in a spot where it can be admired by all.

I hope you’re as excited as I am to get started on your DIY journey. This project is not only fun but also incredibly versatile, offering endless possibilities to personalize your home decor. Plus, it’s a fantastic way to get crafty and try something new. Happy crafting!
I’d love to see your beautiful creations! Share them with us on social media using the hashtags #TonerFoilSheets, #HomeDecor, #DIYProjects, #CraftingIdeas, and #CraftingInspiration. And don’t forget to leave a comment or ask any questions—you might inspire someone else to try this amazing project!
