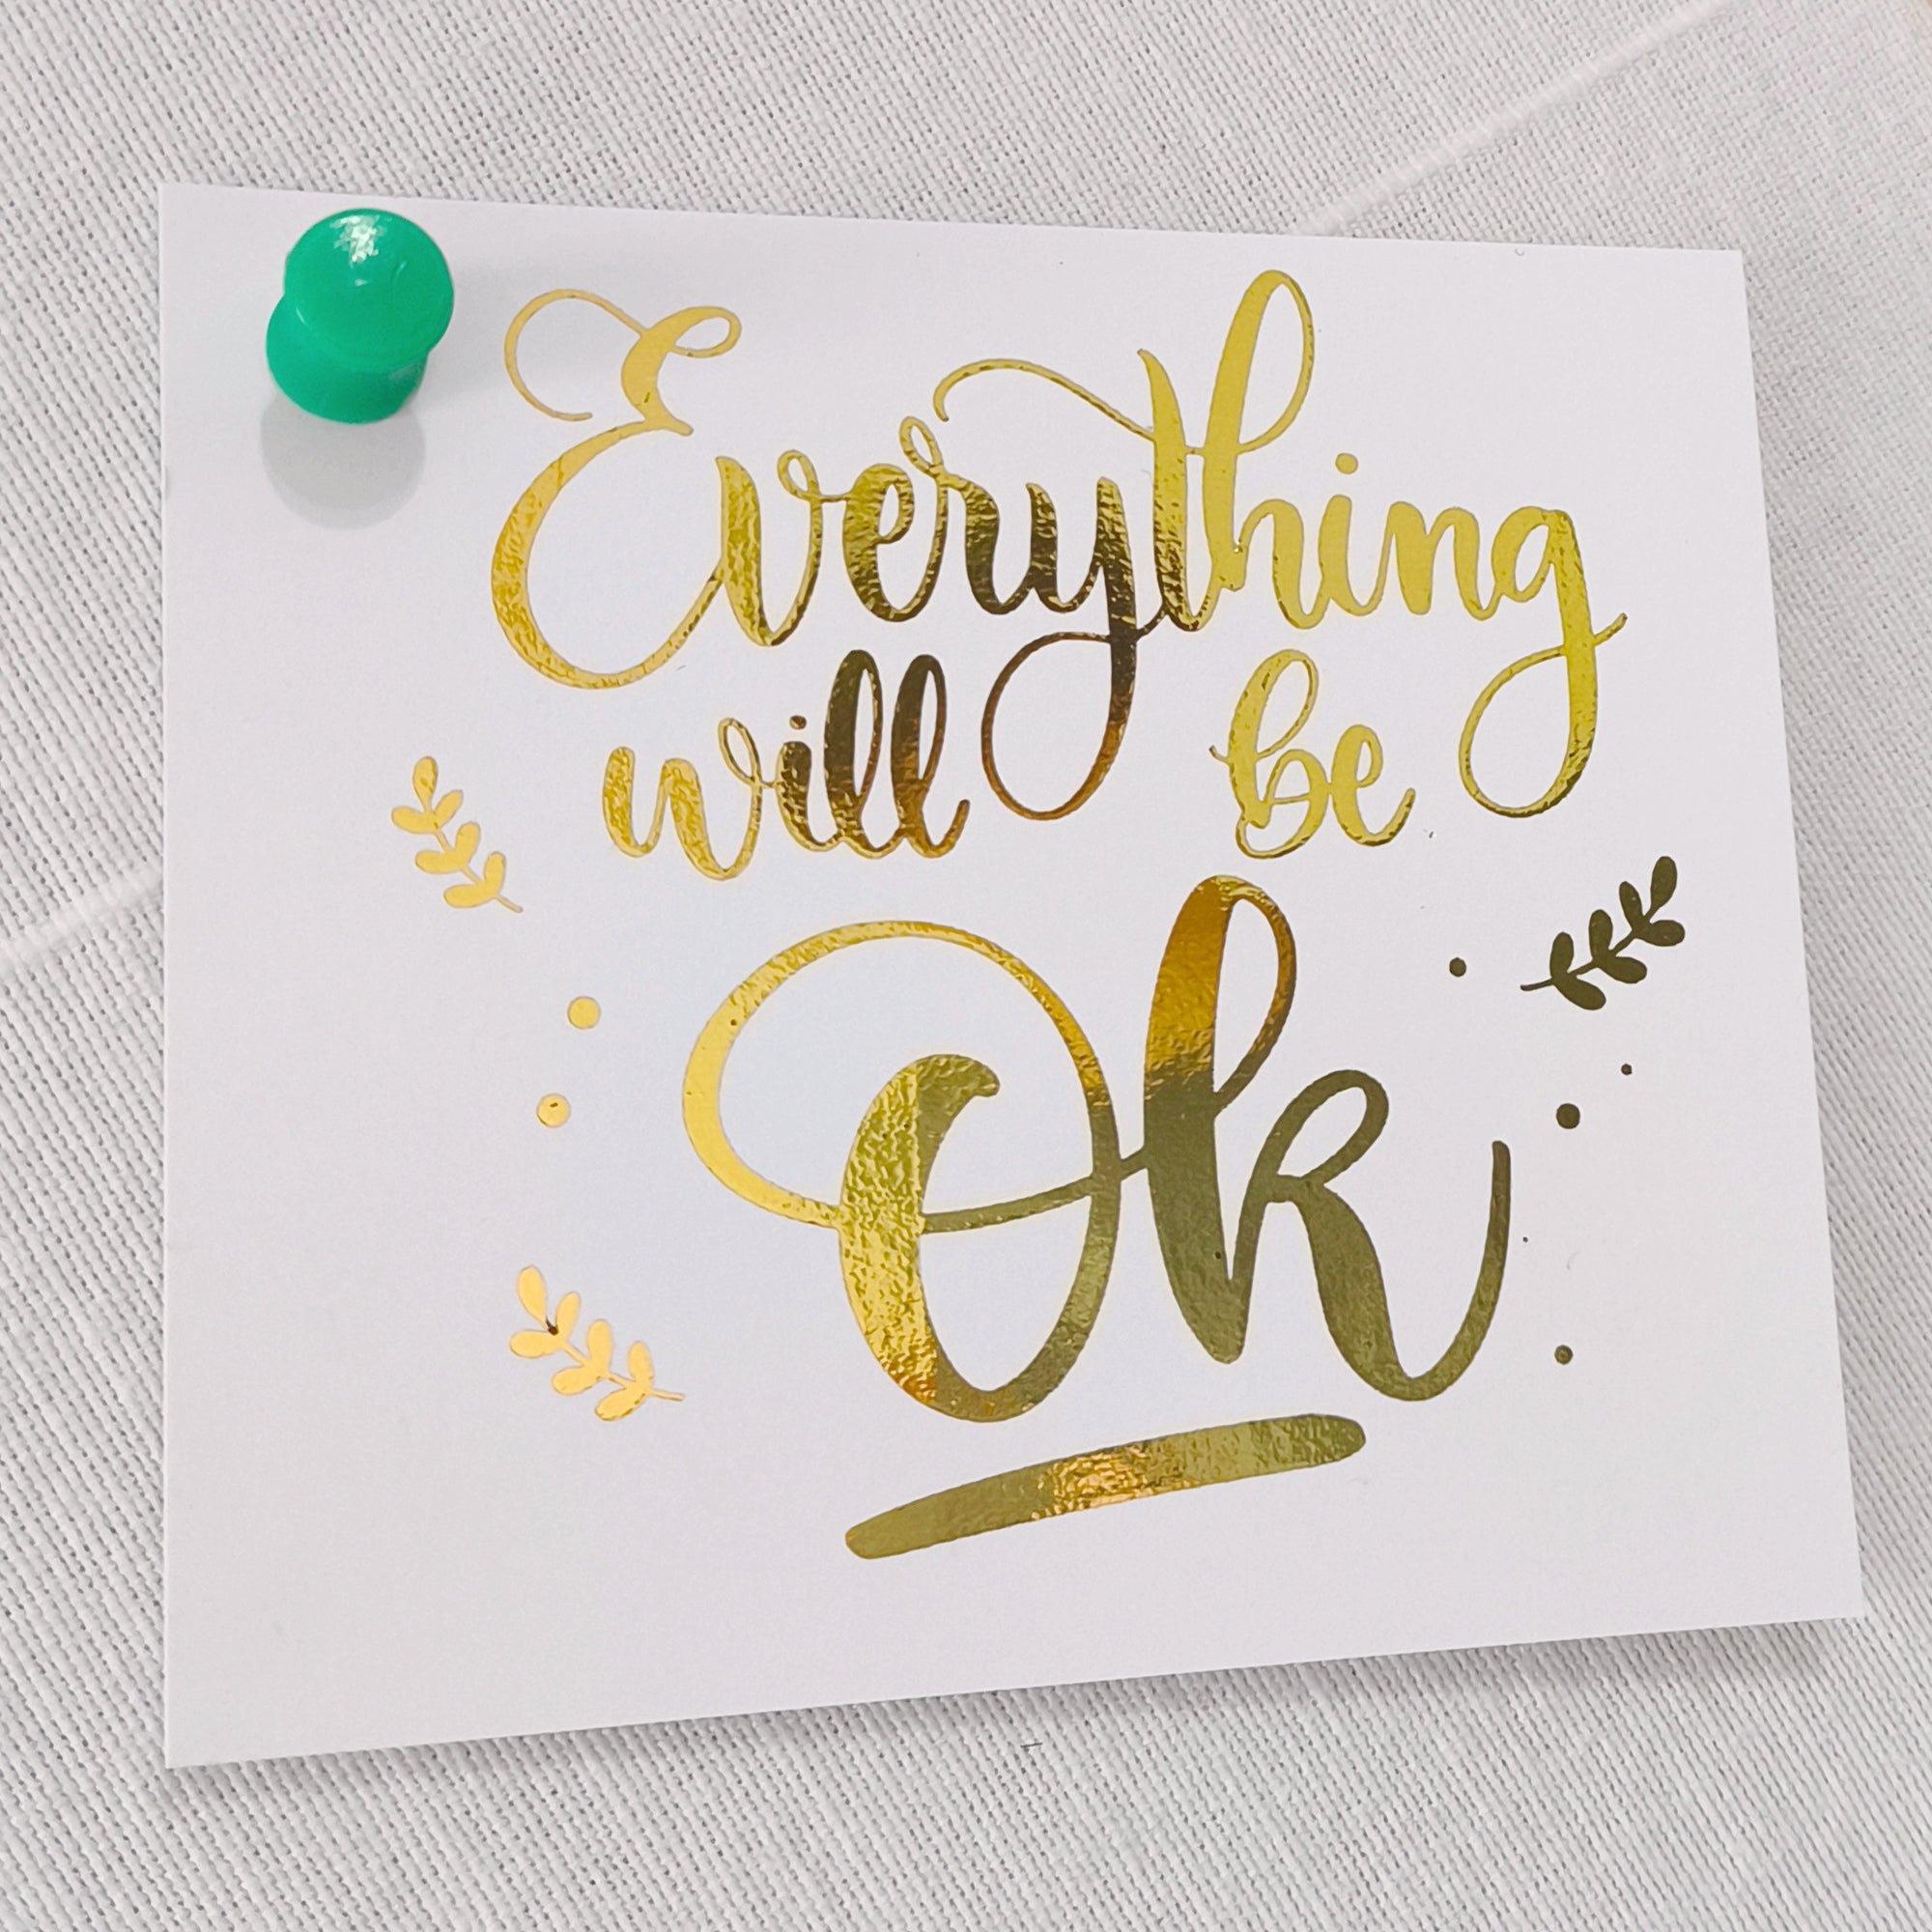
Foiling is a popular technique that adds a touch of elegance and glamour to your prints. Whether you're a crafter, artist, or someone who loves to experiment with different media, foiling is a fun and accessible way to add a special touch to your work. If you're new to foiling, the process can seem a little overwhelming at first. That's why we've put together this step-by-step guide to help you get started with creating foiled prints using a laminator.

Step 1: Gather Your Supplies
To get started with foiling, you'll need a few basic supplies:
- Toner foil: Designed to work with toner printers.
- Foil Transfer Folders: Ensure they are compatible with your laminator and foil.
- Laminator: A good beginner option is the Precision Foil Pro laminator.
- Toner printer: Essential for toner foil, as laser printers won't work with this type of foil.

Step 2: Print Your Design
Once you have your supplies, the next step is to print your design. Be sure to use a toner printer if you're using toner foil. When printing, use the best print setting, and ensure your image is a minimum of 300 dpi for optimal results.


Step 3: Foil Your Design
After printing your design, it's time to add the foil:
- Place the printed design inside a Foil Transfer Folder.
- Run it through the laminator. The heat and pressure from the laminator will activate the toner, causing the foil to adhere to the toner and create a beautiful foiled print.


Step 4: Trim and Enjoy!
Once the laminating process is complete:
- Trim away any excess foil or folder material.
- Your foiled print is now ready to be displayed or used in your project.

Why Choose Precision Foil Pro for your foiling projects?
The Precision Foil Pro laminator is an excellent option. It offers:
- Ease of use: Simple setup and operation.
- Consistent results: Reliable performance for beautiful foiled prints every time.
- Versatility: Compatible with various types of foil and Foil Transfer Folders.
Final Thoughts
With these simple steps, you can start creating beautiful foiled prints using a laminator. Whether you're looking to add a touch of elegance to your cards and scrapbook pages, or you're experimenting with new techniques and materials, foiling is a fun and accessible way to take your work to the next level. Give it a try today and see what amazing foiled prints you can create!
